
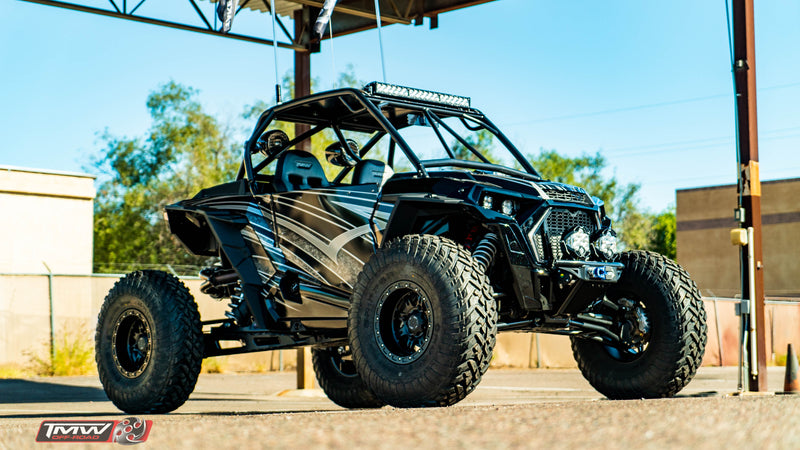
Sidewinder 2 door instruction
Hardware included in Kit:
26 - 1/4-20 x 1/2" Button Head Socket Head, Stainless
30 - 1/4-20 Nyloc Nuts, Stainless
4 - 1/4-20 x 3/4" Button Head Socket Head, Stainless
4 - 6mm x 1.0 x 20mm Button Head Socket Head, Stainless
4 - 6mm Flat Washers, Stainless
2 - 5/16-18 x 1" Hex Head Bolt, Zinc
2 - 5/16-18 Nyloc, Zinc
4 - 5/16 Flatwasher, Zinc
4 - Nylon Door Hinge Washers
2 - Nylon Door Limiter Strap
2 – Door End Caps
Installation instructions
- Begin by removing seats, factory doors, and factory latches
- Install small rear door frame piece and reuse upper b-pillar bolts, leave loose
- Install bottom 5/16-18 x 1” bolt, washers, and nyloc nut on small rear door frame, leave loose.
- Install brass washers on hinge pin
- Lubricate door pin with anti-seize(if not lubricated properly door can seize)
- Install large door frame onto hinges on the small rear door frame piece
- Install factory door latch onto new door frame, snug but do not tighten yet.
- Adjust door frame so top of tube up by latch is even with the front plastic and tighten rear bolts at b-pillar and lower bolt on small door frame piece.
- Adjust latch to hit striker smoothly so door latch does not catch or bind. (you may need to loosen the 2 bolts on factory striker and adjust to achieve proper latch alignment )
- Install door skins on both door frames. Make sure that top 2 bolt holes at hinge point use the longer ¼-20 x ¾” stainless button heads, and that you install the nylon door limiter straps at this location.
- Double check all bolts are tight
NOTE: Driving off road is dangerous No warranty or representation is made to this product’s ability to protect the user from injury or death The user assumes that risk..
Add a comment